I make Cinnamon Buns every week. But I sometimes think they are a little bit of a wintery flavour - warming cinnamon, is perfect on a cold morning. So I wanted an alternative for summer. And what’s more summery than a zingy Lemon Bun?
These Lemon Buns are made using the same dough as my Overnight Cinnamon Bun Dough, and the same technique.
You can either place them in the fridge overnight and bake in the morning, or bake straight after their second prove.
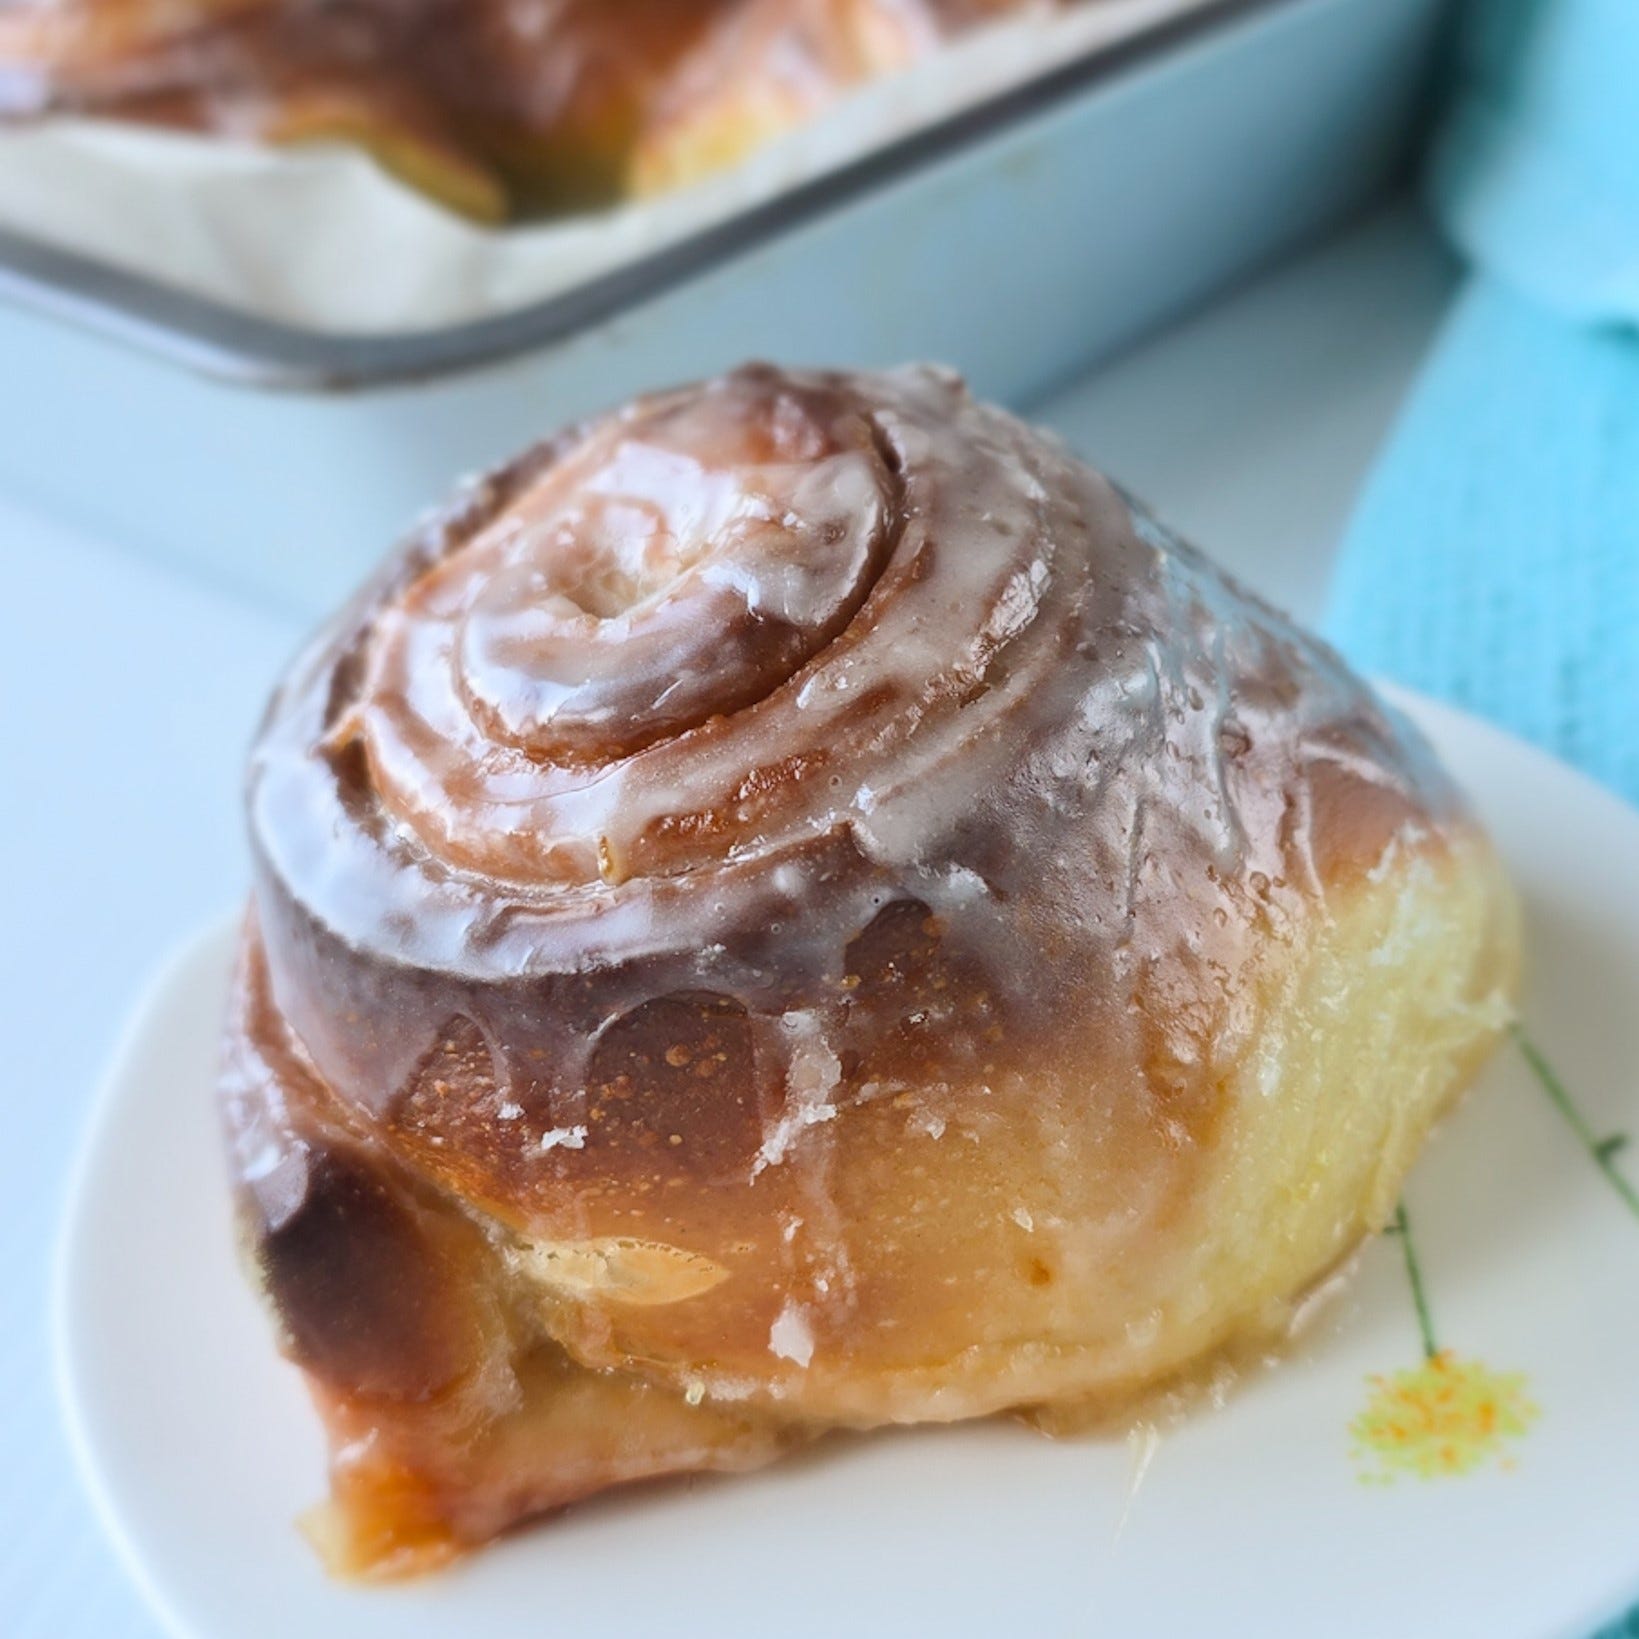
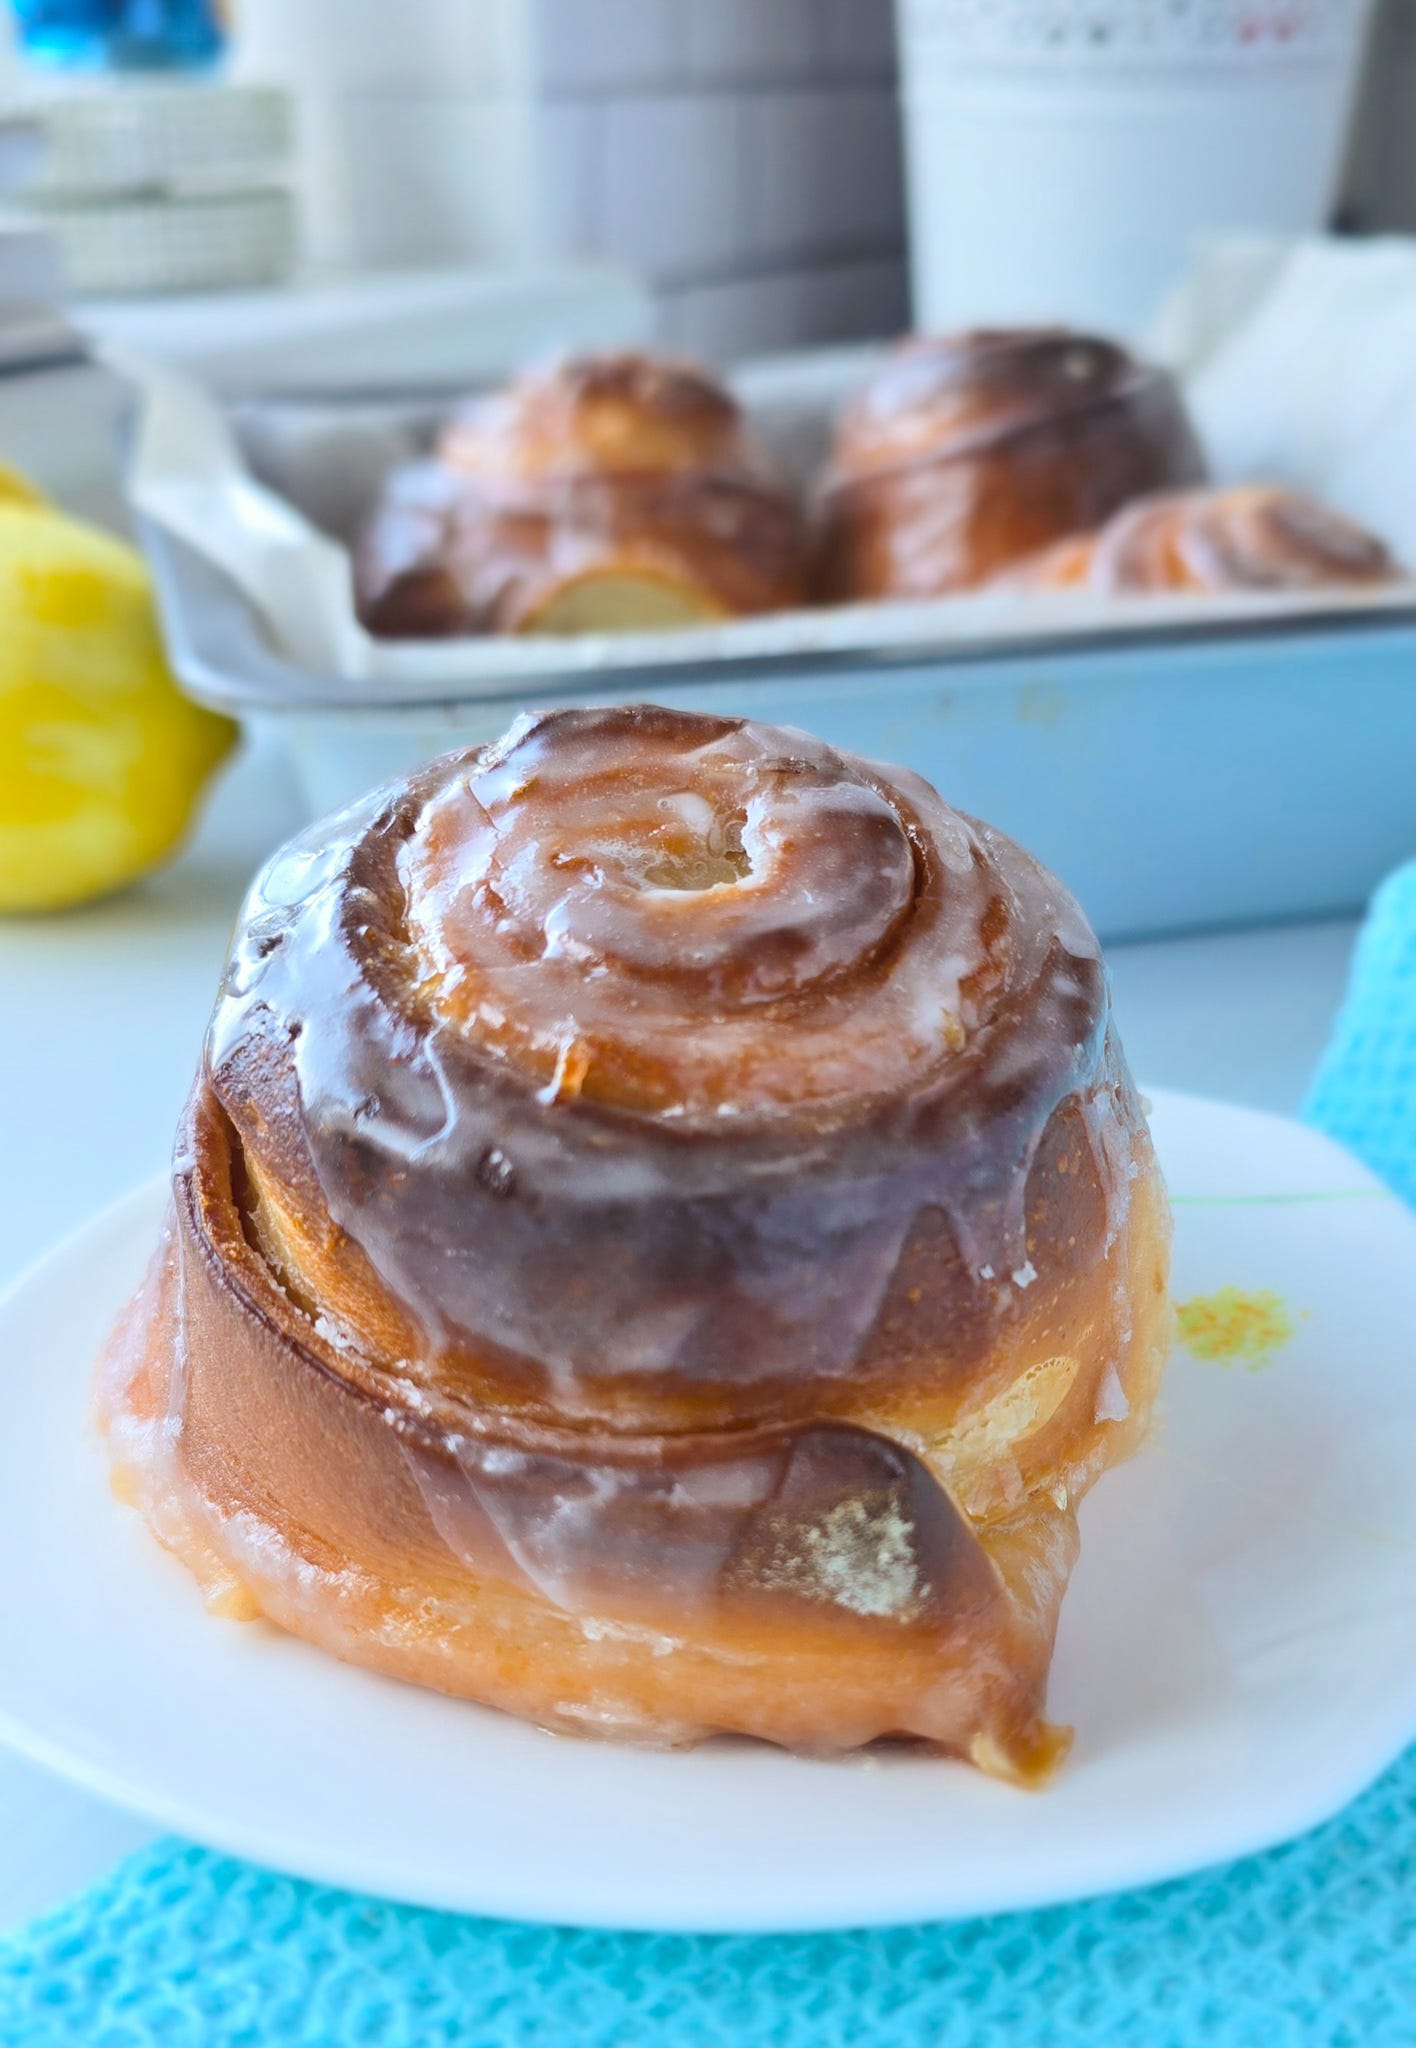
I glaze mine whilst they are hot, which encourages the sugar in the glaze to melt and coat the outside of the bun, whilst soaking into all the nooks and crannies that may ahve formed whilst they’re baking.
There are notes on ingredients and techniques after the recipe.
If you like this recipe you’ll love some of these. All available on the upgraded version of Recipes from The Cake Shed.


Lemon Bun Recipe
Makes 8 to 16, depending on how big you cut them.
Equipment
A stand mixer with a dough hook if you have one
A large mixing bowl
A rolling pin (wooden preferred)
A pizza cutter
Your preferred tin for baking - a large traybake tin, a cupcake/muffin tray or takeaway containers.
Lemon Bun Dough Ingredients
220gms (1 cup) Warm Milk
7gms (1 packet) Fast Action Dried Yeast
500gms (4 cups) Flour. I prefer to use 250gms Plain Flour/250gms Strong White Bread Flour
100gms (1/2 cup) White Sugar
75gms (1/3 cup) Softened Butter
2 UK Medium (US Lge) Eggs
10gms (2tspn) Salt
2tbspn Butter for greasing
Lemon Filling Ingredients
100gms (1/2 cup) Softened Butter
200gms (1 cup) Sugar
Zest of 3-4 Lemons
Lemon Glaze
100gms (1 cup) Icing Sugar
Juice of 2 Lemons
To make the dough - in a jug add the yeast to the warm milk and whisk. Set aside and leave whilst you weight the other ingredients.
In a stand mixer with the dough hook (the one that looks like a cork screw) weigh all the ingredients except the butter. (If you don’t have a stand mixer place all the remaining ingredients in a large bowl. You’re going to need to use some muscle power to knead your dough.)
Start the mixer and allow the dough hook to start combining the ingredients. Scrape down the bowl occasionally to make sure all the dry ingredients get mixed through.
Slowly pour the milk and yeast into the mix.
Once the mixture has come together add the butter and allow to be mixed in with the dough hook. Scrape the sides of the bowl a couple of times to make sure all the butter gets mixed in.
Allow the mixer to knead the dough on low for 10-15 minutes, or until the dough is soft and smooth, and starts to pull away from the sides. (If kneading by hand, incorporate all the ingredients and then turn out onto an oiled surface. Knead until the dough is soft and smooth.)
Transfer your dough to a large oiled bowl, and cover with cling film.
Your dough now needs to prove and double in size. How long this takes will depend on how warm your room is. The warmer it is, the quicker it proves. I have had this take 1 hour or 3 hours, depending on the season. If you want to speed things up, and you are able too, place the bowl into your oven with just the light on.
Once the dough has proved prepare your baking tin by generously greasing it with melted butter. I do this with a pastry brush. Or line it with baking parchment.
Turn your dough out onto a floured surface and give it a couple of gentle kneads.
Shape it into a rough rectangle.
With a floured rolling pin, roll the dough to a rectangle approximately 50cm wide x 40cm high (you don’t have to be accurate).
The dough is quite elastic, so if you are having trouble with the dough bouncing back press it and stick the top and bottom edges to the work surface.
To fill spread the evenly dough with the softened butter.
In a bowl zest the lemons and add the the sugar. Massage and press the sugar into the zest to release the strong lemon oils.
Sprinkle the lemon zest and sugar mixture evenly over the butter.
Now there are 2 ways to roll and cut. This is my preferred way: Measure your dough across and divide the width by the amount of rolls you wish to make. If your dough is 50cm wide, and you want to make 10 rolls, each roll will be just over 5cm wide each.
Using the pizza cutter, cut your dough bottom to top at the measured intervals.
Carefully roll each strip and place it in your preferred baking tin. At this point each roll will be much smaller than when they are baked, so allow room for them to rise and spread.
Read the notes below for some hints and tips.
The other method is to roll the entire thing bottom to top and then cut each roll with a sharp knife. Either method is fine, but I find I get neater, more round, rolls doing them individually.
Cover the rolls and allow to prove again for an hour or so, or until they are about 1/3 bigger.
Place in the fridge overnight.
In the morning take the rolls out of the fridge and allow to come to room temperature for about 30 minutes.
Whilst they are coming to room temperature pre-heat your oven to 180c fan, 200c, 400f, GM6
When the oven is at full temperature place your rolls in to bake. Depending on how many you are baking and how big the rolls are will very much depend on how long they take. I usually set my timer at first for 12 minutes and then check every 3 to 4 minutes.
Your rolls are ready when they are brown on top, crispy, and the filling is bubbling away.
Whilst the buns are baking prepare your glaze by mixing the icing sugar with half of the lemon zest.
Mix thoroughly. You are looking for a thick pouring consistency, so add more juice a little at a time until you have a consistency you like.
Once baked remove from the oven and pour the glaze over the buns. You are wanting the glaze to sink down into any nooks and crannies and cover the buns.
Place to one side to cool for 5 to 10 minutes before serving.
Notes Lemon Buns Ingredients
Flour
I like to use a combination of plain flour and bread flour. I find this gives a lighter, softer roll. However, you can use all strong bread flour if you wish.
I have not tried this recipe with gluten free flour so do not know how it will respond.
Butter
I used dairy butter. Use butter from a block not a tub as the fat content is higher and it has less moisture.
I haven’t tried it with plant based butter, but I can’t see why it wouldn’t work. I would advise you to use a high fat content (from a block, not a tub) plant based butter if you are using it.
Milk
I use semi-skimmed dairy milk. I wouldn’t use skimmed, but whole milk would be great for a rich taste.
I haven’t tried a plant based alternative so can’t say if it would work.
Sugar
I generally use granulated white sugar. This is to reduce the cost of the sugar. You can use caster sugar if that’s what you have.
Salt
DO NOT MISS THIS OUT. Salt does much more in a dough than season it. It reacts with the yeast.
Yeast
I added my yeast to the warm milk to start to activate it. If you prefer you can add it to the dry ingredients. However keep it away from the salt until it all starts to mix in.
Eggs
I used free range, Medium UK eggs for best results. You can also use large.
Lemons
Make sure they are unwaxed. When zesting the last thing you want to be doing is adding wax to you buns, rather than zesty lemon. If your lemons are on the smaller side, add another. It’s hard to have a lemon bun that’s too lemony.
A few Hints and Tips on Technique
For best results weigh all your ingredients, including the liquids.
I mix and knead my dough in a stand mixer. It is quite a sticky dough so will stay stuck to the bottom and sides a little. It won’t form a thick dough ball that bounces around in the mixer.
Because it’s sticky I like to oil the bowl I prove the dough in. It helps to get it out of the bowl without any waste afterwards.
Don’t be afraid of overproving. It’s better the buns are slightly over than underproved, because most people stop the proving process a bit too soon anyway. It’s best to be 30 minutes over than under.
If you are having trouble with elastic dough when you roll it out, press the top and bottom to the work surface and stick it down. When you come to get it back off the surface, gently use an offset palette knife, or a bench scraper to scrape/cut the dough from the work surface.
Saying that, I do lightly flour my work surface as I hate sticky dough. However, don’t over do the flouring as you don’t want the dough to dry out.
When you bake the Buns be careful when you first open the oven. There is a lot of moisture in this recipe and its very steamy when you first open that door.
I usually glaze my Buns within a few minutes of them coming out of the oven. That’s mainly as I want to get them into The Cake Shed whilst they are still warm. However, you don’t have to glaze them straight away, you can wait until they are slightly cooler. The glaze is less likely to melt all over the bun, but stay on top like icing.
Storage Tips for Lemon Buns
Lemon Buns are best eaten on the day you make them. However, they can be stored in an airtight container for a couple of days.
They can also be frozen if wrapped well and placed in an airtight container.
They store best if they have been glazed as the moisture from the frosting will help to keep them fresh.
To revive them and have them warm I would recommend placing them in a microwave for 10-15 seconds. They won’t be as crunchy but they should be soft and warm.

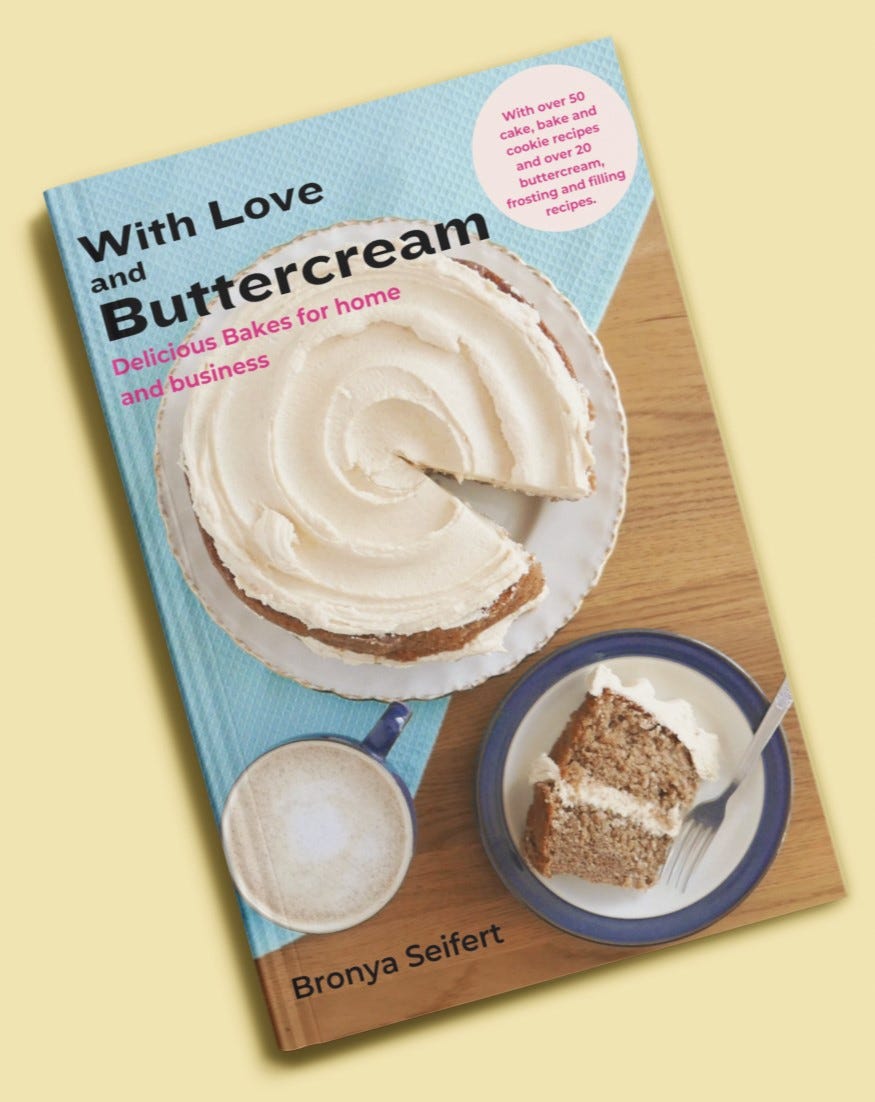
For more recipes and information follow me on Instagram (@daisycakeco) or buy my book ‘With Love and Buttercream’ available in Hardback, Paperback or on Kindle